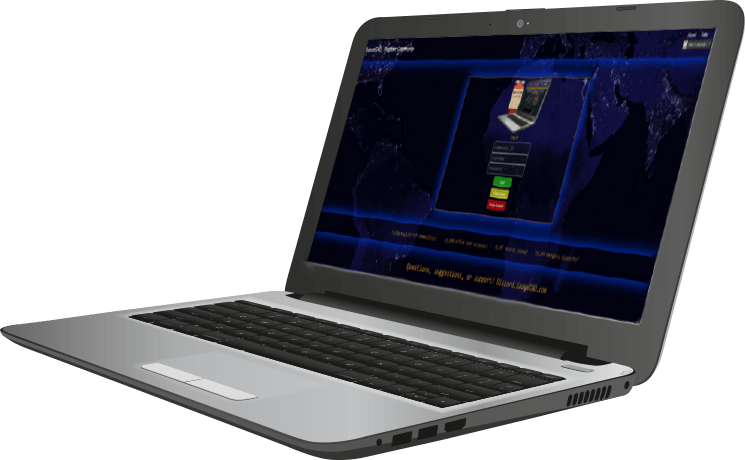
Basic Community Instructions
Registering a free CAD/MDT for your community:
Step One: Open the CAD/MDT registration page by clicking the following link:
Step Two: On the registration page fill in the form using the information below and then press the “Register CAD” button.
Community Name: The name of your community. Example: San Andreas Highway Patrol
Community ID: A unique identifier for your communities CAD/MDT. Community ID’s can only contain either letters or numbers for example: SAHP, SAHP42, 42SAHP.
Your community website. (Optional)
Your email address.
Step Three: Check your email for an email from noreply@bullrunind.com and then click the link within to verify your community. (In some cases email delivery can take up to 15m-1h due to greylisting.)
Congratulations you’ve instantly registered your very own free CAD/MDT. To get started inviting your community members please move on to the next section of this tutorial.
User Registrations and Permissions:
There are two ways for you to invite your community members to your CAD/MDT:
Option One: Manually, The user signs up and then is given permissions by an administrator.
Option Two: Permission Keys, The user can either signup using a permission key link or apply a permission key after registration and will automatically gain the associated permissions.
NOTE: All users must have the civilian permission to setup their character(s) for usage within the CAD/MDT.
Manual Registrations
Step One: A user registers for your CAD/MDT using the community ID you chose during registration by clicking the yellow create account button on the CAD/MDT homepage:
Step Two: To access the permissions menu visit the Admin page from the menu or by clicking here: and then click the “Pending” button.
Step Three: Double click any of the users on the pending list to set their permissions or even delete the users account. After setting permissions press the “Save Changes” button or follow the prompts if you are deleting the account.
Permission Keys:
Step One: To access the permissions key menu visit the Admin page from the menu or by clicking here: and then click the “Perm Keys” button.
Step Two: To make a new permission key press “New Key” or to edit an existing key double click it in the list.
Step Three: To make or change a key: Click the permissions you’d like the key to have and select a name for the key. link on this page your users can use this to signup and automatically gain permissions then press “Save Changes” To delete: Press the delete key button and follow the prompts.
Step Four: Give your users either the link found when editing/creating a perm key or give them the perm key name for manual application post registration.
Basic User Instructions:
Joining your communities CAD/MDT:
NOTE: Prior to registering an account on your communities CAD/MDT you’ll need to obtain your communities ID or a signup url from a member of that community.
Signing up using a Community ID
Step One: Visit the CAD/MDT by clicking here: then press the yellow “Create Account” button.
Step Two: Fill out the form using the community ID you were given prior to signup then press the green “Create Account” button.
Step Three: Apply a permission key after login or ask a member of your community how to gain permissions.
Step Four: Once you have your permissions, setup your character(s) on the civilian page for usage within the CAD/MDT.
Congratulations, you’re now ready to start using your communities CAD/MDT!
Signing up using a Custom Signup Link
Step One: Visit the permission key embedded custom signup link given to you by your community it should look something like this:
Step Two: Fill out the form and then press the green “Create Account” button. You’ll instantly be granted the permissions associated with that permissions key.
Step Three: Setup your character(s) on the civilian page for usage within the CAD/MDT.
Congratulations you’re now ready to start using your communities CAD/MDT!